A deck is more than simply boards and nails. It’s where you eat supper with your family, hang out with friends on summer nights, and drink your morning coffee. But over time, dirt, mold, and stains can make it less beautiful. That’s when you need deck cleaning. Bring back the fresh, welcoming look of your deck by taking the correct steps.
Why Deck Cleaning Matters
Cleaning your deck regularly does more than make it seem better. It makes the wood last longer. Dirt and filth trap moisture, which can cause decay. Mold and mildew make surfaces slippery, which can be dangerous. Cleaning your deck properly is an essential step to a professional finish if you ever want to stain or seal it.
Think of it as upkeep that will save you time and money in the long term.
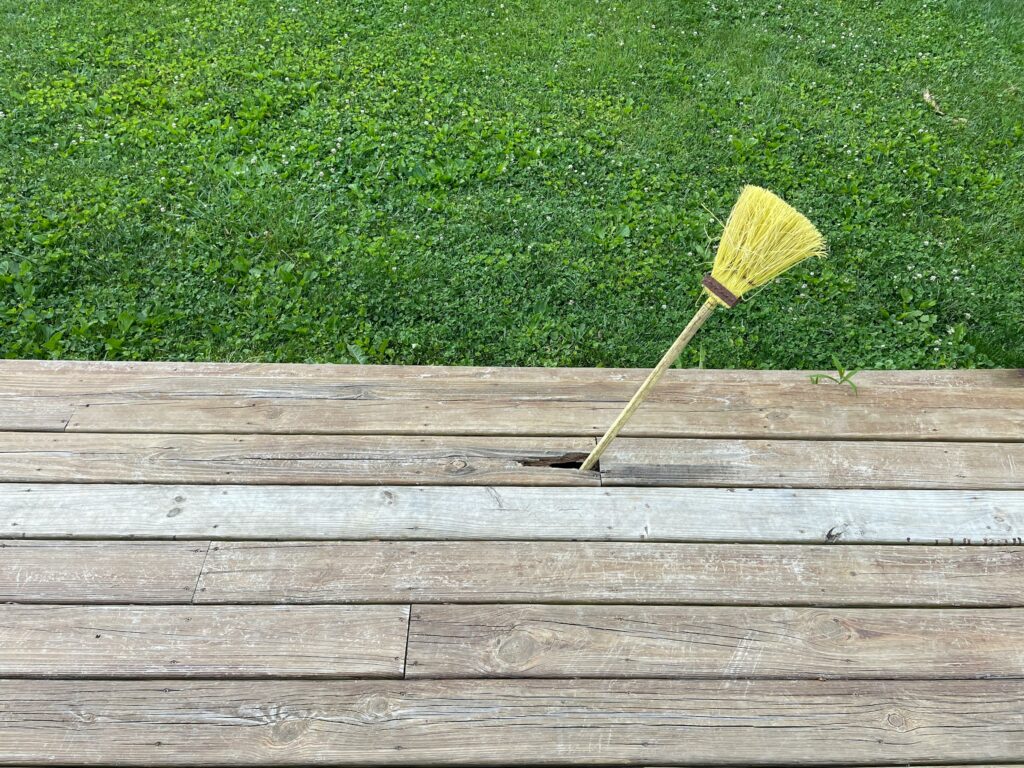
Step 1: Clear the Surface
Take out the furniture, grills, and decorations first. Sweep away loose dirt and leaves. This procedure cleans your workplace and makes it easier to see stains or damage. While you’re about it, look for loose boards or nails. Fixing small things today will keep bigger problems from happening later.
Step 2: Choose the Right Cleaning Solution
There are differences between decks. You might need a different cleaner for a wood deck than for a composite one. Find items that are made for the material you have.
- For wood decks: Use a cleaning that contains oxygen. It gets rid of dirt without taking away natural oils.
- For composite decks: Pick a light cleaner that gets rid of mold without hurting the surface.
- For eco-friendly cleaning: A simple mix of hot water and dish soap works well for mild dirt.
Always try a small area before washing the whole deck.
Step 3: Scrub or Pressure Wash
This is where the real work is done. A powerful scrubber and some elbow greases are all you need to clean most decks. To avoid streaks, work in small areas. To protect the surface, scrub along the grain of the wood.
When you use a power washer, keep the nozzle moving. Applying excessive pressure can harm the wood. Keep at least one foot away from the boards. The purpose is to get rid of dirt, not to hurt the surface.
Step 4: Rinse Thoroughly
After cleaning or scrubbing, make sure to rinse the deck well. If you don’t rinse off soap or cleaner, it can leave behind debris that attracts more filth. For this phase, a garden hose will work just as well. Before you move ahead, be sure all the suds are gone.
Step 5: Let It Dry
Be patient. Give your deck at least 24 to 48 hours to dry. This step is very critical if you want to stain or seal. Putting compounds on wet wood might trap moisture and make it peel.
Step 6: Seal or Stain for Protection
Think about sealing your deck once it has been cleaned and dried. A sealant keeps moisture out, while a stain makes the color brighter and protects against UV rays. This extra step can help your deck seem new for longer and make it easier to clean in the future.
Maintenance Tips for a Lasting Clean
It doesn’t have to be hard to keep your deck clean. A few tiny things can make a big difference:
- Sweep once a week to keep dirt from building up.
- To avoid stains, clean up spills as soon away.
- Cut back plants that are close by so they don’t drop leaves.
- Reapply sealant every couple of years.
These things will help your outside space stay inviting all year long.
Bring It All Together
A deck really does add to your home. You can bring back the beauty of your deck and make it a place you enjoy again with some simple cleaning procedures. Every process, from sweeping and washing to sealing for protection, adds value.
And if you’re changing more than just the floors, think about your railings as well. A clean deck may change your outdoor space as much as new designs might. For ideas, check out these front porch railing ideas.
Final Thoughts
Cleaning the deck doesn’t have to be hard. Bring fresh life to your outdoor living space with simple steps and the correct attitude. Begin with a clean surface, use the proper cleanser, and then add protection. What happened? A deck that is secure, pretty, and ready for whatever season comes next.