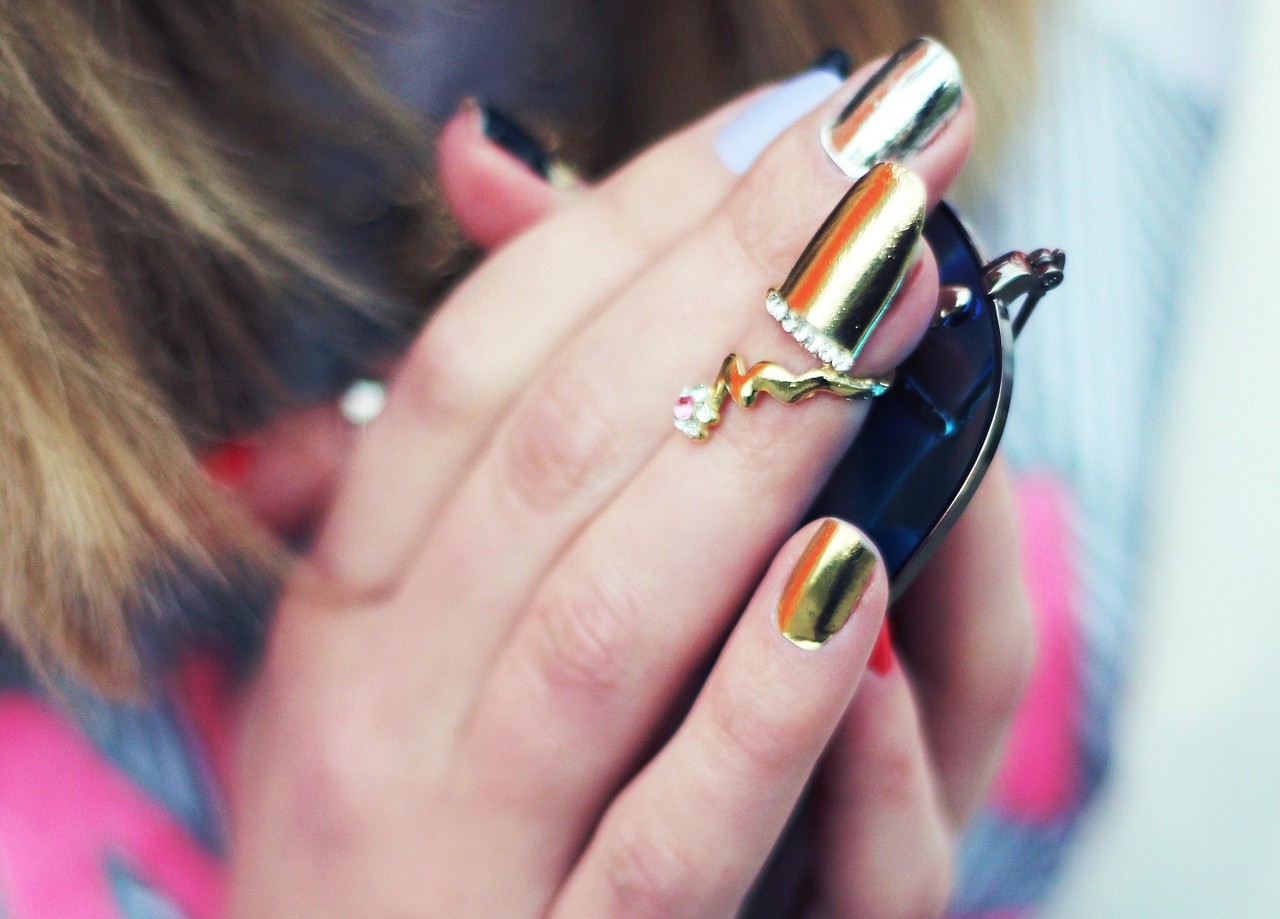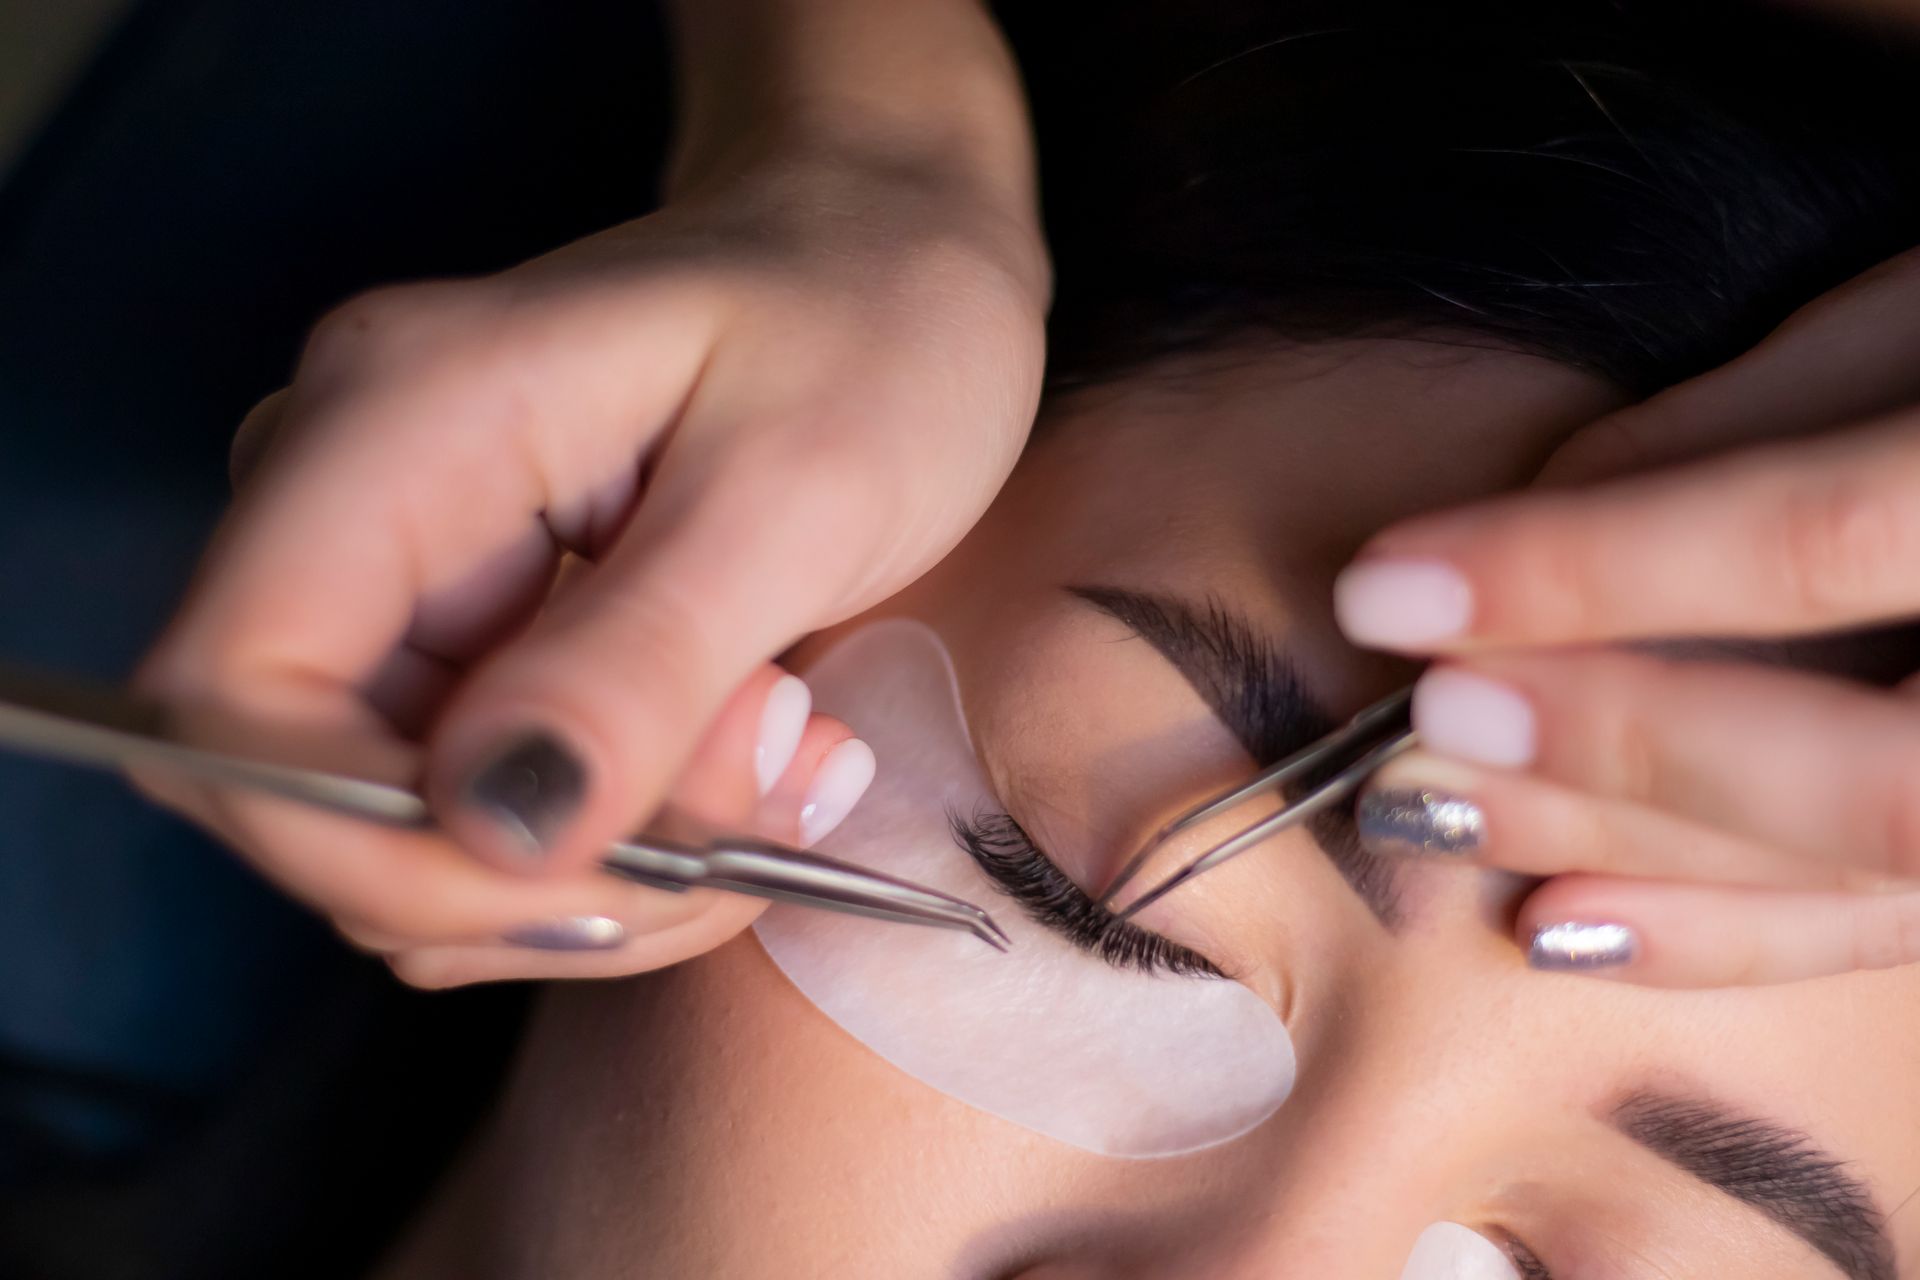
You’ve been doing it for years. You go in for a manicure, and right away, out comes the cuticle scissors. Snip. Finished. Neat and tidy.
But it’s not really neat and tidy. It’s actually quite damaging to your body.
Cutting off your cuticles may be one of the worst things you can do to your nails, but many people don’t even know there’s a problem until someone else tells them. The best part is that there is a solution – a cuticle remover.
Here’s what you need to know.
What Are Cuticles and Why Do They Matter?
The cuticle is the thin layer of skin present at the base of the nail bed. At first glance, this layer may seem to exist only for aesthetic purposes; however, it is much more important than you may imagine.
The role of the cuticle is that of a protective barrier against bacteria, fungi, and viruses invading your nail bed from the gap between your nails and your skin. As soon as this barrier is removed, your nails become vulnerable.
This is the consensus among dermatologists and nail care specialists. Still, almost all nail spas regularly trim your cuticles without hesitation, even though they know this procedure is dangerous for your nails’ health.
Now is the time to challenge it.
Why Cutting Cuticles Is a Bad Idea
What happens when you cut your cuticles?
You open yourself up to infection. Even the tiniest snip creates an entry point for bacteria to enter the skin. Nail infections, known as paronychia, are incredibly painful conditions that can drag out recovery for weeks on end.
It triggers faster regrowth. Your body interprets the injury as something that needs immediate repair, resulting in faster growth and harder cuticles that require frequent removal.
It weakens the nail over time. Without protection from the cuticle, your nails become more brittle, easily splitting and becoming misshapen as a result.
It hurts. Usually not right away but there is definitely pain associated with cuticle injuries, whether it is a newly snipped cuticle being rubbed against fabric or one that is dry and flaky from neglect.
The reality of the situation is there is absolutely no benefit in cutting your cuticles. It can all be done effectively and safely with a cuticle remover.
What Is a Cuticle Remover?
Cuticle remover is a product, typically found in gel, cream, or liquid form, which will soften and dissolve the buildup of dead skin surrounding the nail. The product does not cut through skin at all; rather, it helps to break down the overgrown material, allowing it to be removed painlessly and effortlessly.
Most cuticle removal products include AHAs or potassium hydroxide in their ingredients list. By breaking the chemical bonds between dead skin cells, this makes the skin easier to remove from the nail without having to exert any pressure on the living skin cells below.
This leaves a perfectly groomed area of skin with a neat and tidy appearance, just like if the cuticle had been cut.
How to Use a Cuticle Remover the Right Way
Using the cuticle remover requires no effort at all, but it is necessary to pay special attention to several key points to get maximum effectiveness from the procedure.
Step 1: Preliminary softening of the nail plates. Immerse your fingers in hot water for two to three minutes. It opens pores and makes it easier for the active substances to penetrate the tissues. This process can be carried out using any bowl or immediately after a shower.
Step 2: Drying. Dry the fingers so that the product does not get into contact with water. The longer it stays in the cuticles, the better.
Step 3: Application. Apply the product to the nails using the applicator, being extremely careful not to touch the nail plate, but only the surrounding skin tissue.
Step 4: Waiting. Let the composition work as long as it is required. Most often, it takes no more than two or three minutes. Don’t leave it on longer than directed — the acids can irritate healthy skin if left too long.
Step 5: Gently press back. With a rubber-tipped cuticle pusher or orangewood stick, gently press the soft skin back to the base of the nails. No effort needed! If it is difficult to do, put on some more cream and wait for another minute.
Step 6: Wipe off and rinse. Remove the dissolved cuticle from your nails with a damp cotton ball and rinse your hands.
It is done. Nice clean cuticles without any scissors!
Gel vs. Liquid Cuticle Remover — Which Should You Use?
They both have their uses, but they cater to different requirements.
Gel cuticle removers are thicker and will not flow around. They work best for beginners since they are easier to handle. They allow for a very accurate application without spilling into other areas such as the nails or the adjacent skin.
Liquid cuticle removers tend to work more quickly and are more powerful than the gel version. They are great for people with very tough or hard-to-remove cuticles. However, they can easily flow around when applied.
New users should start off using gel cuticle removers and then move on to liquid cuticle removers once they understand how they work.
How Often Should You Use a Cuticle Remover?
Once a week will be ideal for most individuals. This will be sufficient to maintain the condition of their cuticles without having their skin processed too often.
For those whose cuticles tend to grow more rapidly or who have just started using this tool to replace the practice of cutting their cuticles, two times a week is recommended for the first month. Thereafter, reduce it to once a week for regular upkeep.
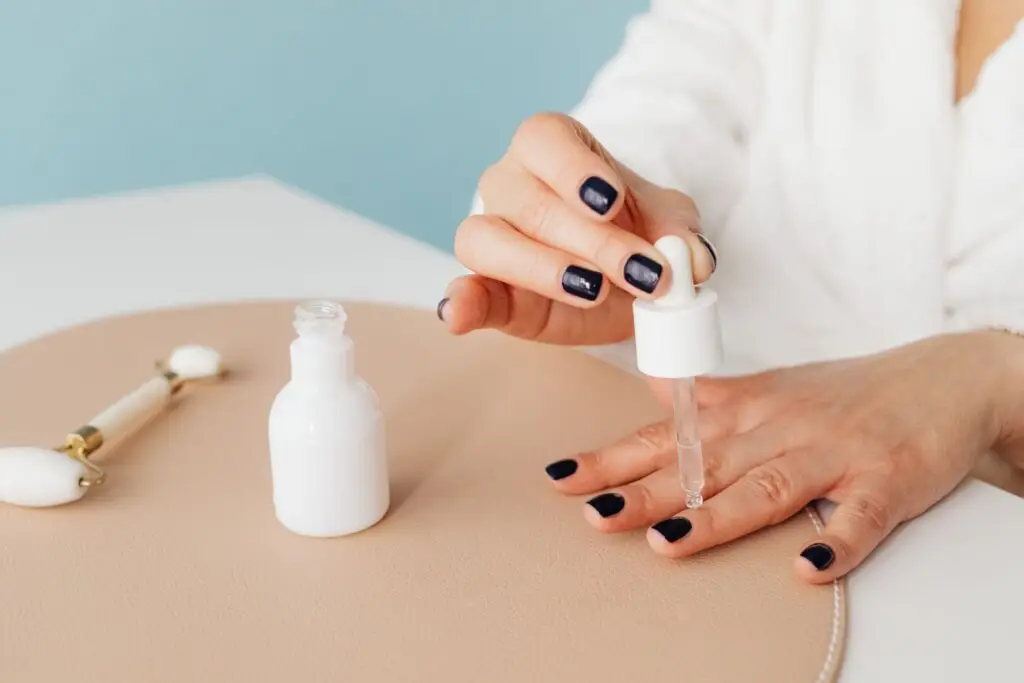
It is crucial that one uses cuticle oil after using the remover. The products have acids, which could cause dry skin if not moisturized properly.
Cuticle Care as Part of Your Full Nail Routine
Cuticle management is key for an immaculate-looking manicure, but there is still much more to be done. In order to have your polish, particularly your gel polish, look flawless, you must ensure your cuticles are properly cared for.
In particular, if your goal is to achieve that flawless look, your cuticles should be properly prepared first; having your cuticles clean and pushed back will provide more area for the polish to stick and help avoid any lifting or unevenness.
Gel polish specifically requires proper cuticle preparation if you wish for it to last. This small detail is what will determine whether you get a manicure that looks perfect for the entire two weeks, or one that starts lifting after only five days. Get inspired by these trending gel manicure nail designs to try when your nail prep skills have gotten better!
Should you rather opt for short nails, preparing your cuticles will leave your fingers looking exceptionally stylish. Discover some beautiful short nail designs here.
Signs Your Cuticles Need Extra Attention
Not all cuticles act alike. These are some signs that yours may need to take extra care.
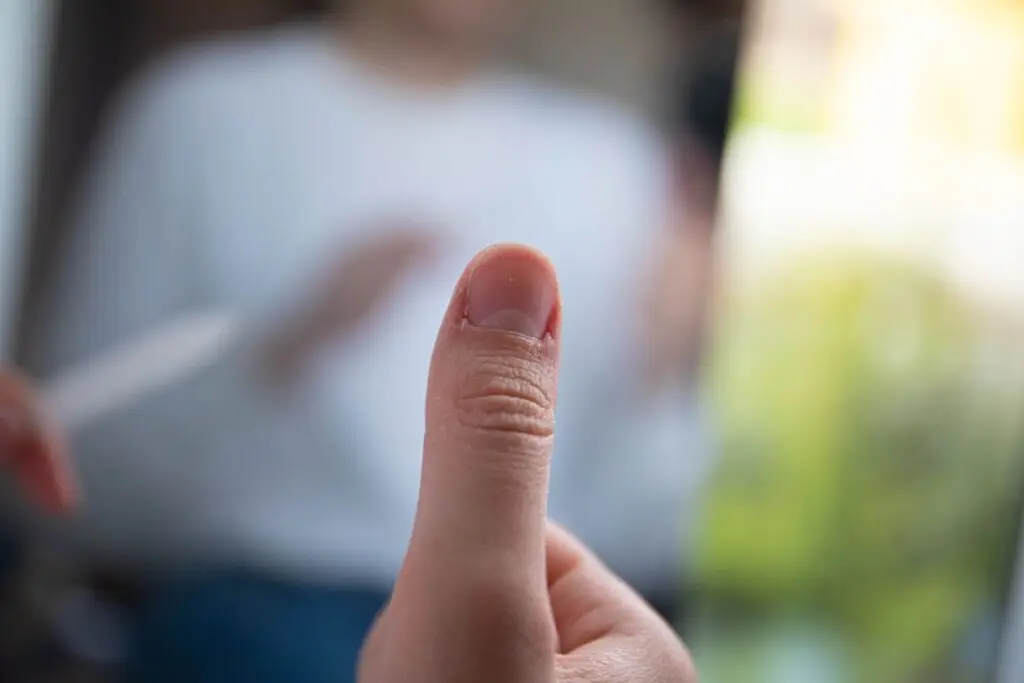
Hangnails — the tiny bits of skin along the edge of your nails — then this indicates dryness and neglect in your cuticles. With regular use of cuticle remover and cuticle oil, hangnails can be greatly reduced.
White or chalky skin along the base of your nails indicates dry skin with accumulated dead cells. This is exactly what cuticle remover should remove.
Redness or puffiness around the nails might mean they need a little rest first, as it can indicate irritation or an early infection caused by excessive cuticle trimming.
The Bottom Line
It is a satisfying activity to cut your cuticles, but like all beauty practices, it is something that does far more damage than good.
The cuticle remover provides the same results as cutting your cuticles without harming your skin, stimulating its regrowth, or increasing the likelihood of infection.
Your cuticles are there to protect your nails; they should be treated with care.
Cuticle removers provide the same results without any of the drawbacks of scissors.