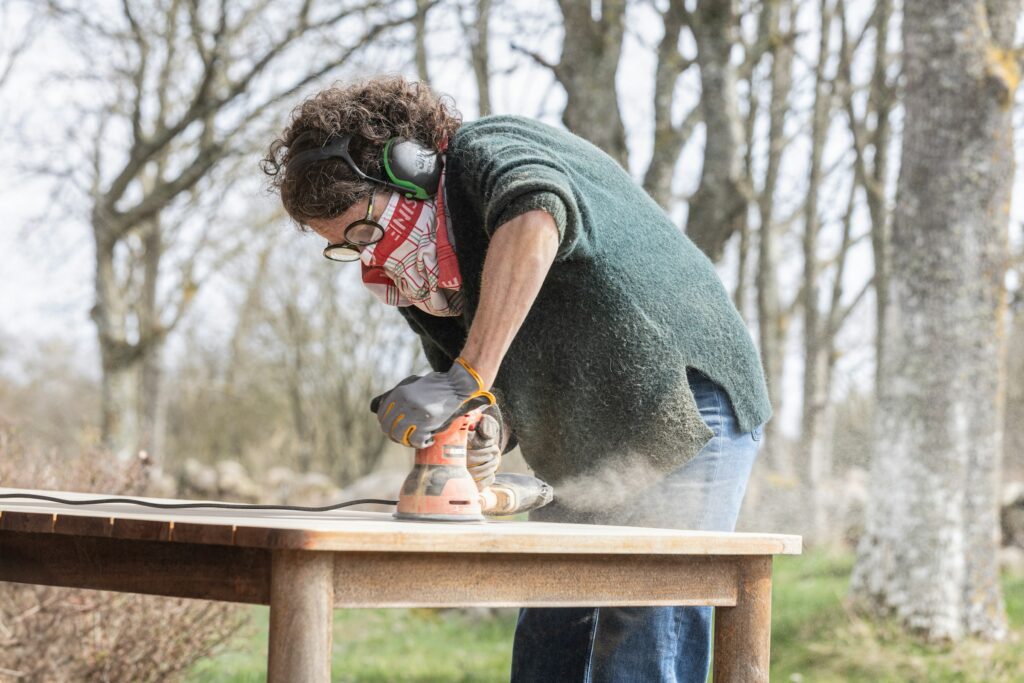
You’re not the only one who has spent hours refinishing a piece of furniture only to end up with streaks, lumps, or an uneven finish. One of the most annoying things about restoring furniture yourself is when the surfaces aren’t even. But the truth is that it’s not always your technique. Most of the time, it’s your tools. Your sander is the most important tool for a project.
Let’s talk about how to choose the best sander for furniture. Once you do that, everything else will be easier.
Why Sanding Matters More Than You Think
Sanding is the first thing you should do before you pick up a brush for painting or stain. It gets rid of old finishes, smooths out rough edges, and helps the fresh paint or stain stick. If you neglect this step or use the wrong tool, the result will be worse.
Think of scrubbing as the base. If you do it right, even something you bought at a thrift store can look like it came from a high-end catalog.
Common Sanding Mistakes
Here’s what often goes wrong in the sanding stage:
- Using too coarse or too fine a grit
- Applying uneven pressure
- Rushing through corners and curves
- Using the wrong type of sander
These mistakes make the paint job look uneven, leave scratches that are easy to see, and make the paint not stick well, all of which make your furniture look half-finished. Most of these problems can be fixed right away with the right sander.
What Makes the Best Sander for Furniture?
When looking for the best sander for furniture, remember these things:
1. Lightweight and Easy to Handle
The furniture has bends, edges, and sometimes fragile parts. You need a tool that doesn’t push against your hand. A lightweight sander gives you better control, especially in hard-to-reach places like the edges of drawers or table legs.
2. Variable Speed Settings
Different furniture materials need different levels of pressure. A variable speed sander lets you adjust as you go. Sanding a soft pine chair is not the same as stripping paint off an oak dresser.
3. Minimal Vibration
High-vibration sanders can be tiring to use and lead to uneven surfaces. Look for one that reduces hand fatigue. This helps you stay consistent across the entire piece.
4. Dust Collection
When you sand, you make a lot of dirt. A built-in gathering of dust feature not only keeps things clean but also makes it easier to see, which means you can sand more accurately. Also, it’s better for you and your space.
5. Fits Into Tight Spaces
Look for models with pointed or compact heads. These are ideal for corners, grooves, and detailed carvings.
Types of Sanders to Consider
You don’t need a whole toolbox of sanders. Just one well-suited option can handle most jobs.
Orbital Sanders
Great for everyday use. They’re easy to use and work well on big, flat areas like tables and cabinet doors. They smooth out the surface without being too harsh.
Detail Sanders
These are excellent for making corners, curved furniture, and designs with a lot of detail. You can think of them as the precise tool in your DIY kit.
Sheet Sanders
It’s cheap and great for finishing work. These work best for light-duty tasks, particularly when you’re finishing rather than eliminating.
For most furniture restoration projects, a combination of orbital and detail sanding gives the best results.
How to Use Your Sander Like a Pro
Even the best sander won’t deliver perfect results if not used correctly. Here are some tips to help you get the job done right:
- Start with medium-grit sandpaper (like 120) to remove old finishes.
- Move in the direction of the wood grain.
- Don’t push down too hard. Let the sander do the work.
- Progress to a finer grit (180 or 220) for that buttery smooth finish.
- Wipe down the surface after each sanding pass to remove dust.
Consistency is the secret sauce. Take your time and work evenly across the entire piece.
A Sanded Surface Changes Everything
Once you’ve sanded correctly, you’ll notice how beautifully the paint glides on. The stain soaks evenly. The sealer looks glossy and clean. There’s no dragging brush or patchy spots.
That’s the transformation moment. It’s not just the furniture that changes—you change too. You gain confidence. Pride. That joy of creating something beautiful with your hands. And that starts with choosing the right tool.
Pairing the Right Sander with the Right Space
When you restore furniture, you often have to rethink how your home looks. You might want to change the way your living room is set up after finishing a new coffee table. While you’re at it, make sure that no one misses how clean and well-placed your rug is. This is a great guide to help you avoid common mistakes when cleaning rugs: Area Rug cleaning Near Me – Don’t Make These Mistakes That Happen All the Time.
If your new piece of furniture needs some attention, think about how it looks with a clean, raised layout like this one: Fall in Love with a White Couch Living Room.
Final Thoughts
You don’t have to be a pro to get results that look like they came from a pro. The key is to work smarter, not harder. And it all starts with the sander, which is the tool that does the most work.
Pick one that fits your hands, works for your project, and lets you be in charge. After that, it’s all about being patient and exact. The right sander will turn your frustration into pride, whether you’re flipping furniture for money or just fixing up an old family heirloom.
Now you know where to start if you’re sick of finishes that aren’t even. With the best sander for furniture, the result not only looks good, but it also feels good.


