I used to think updos were a “special occasion” thing. A service that you hired somebody to provide for you before a wedding and then didn’t do anything about until the next wedding came around. But when I had a summer where my hair would constantly stick to my neck on the subway, I finally decided to sit down and teach myself how to style my hair a few ways without looking at myself in a mirror. Turns out most updos are far less complicated than they look on Pinterest.
That’s really the whole point of this guide: easy updos for long hair that you can actually do yourself, on a weekday, without setting a single hair on fire with a curling iron. Some take five minutes. A couple take closer to ten, but only because you’re being fussy about it. None of them require salon hands.
Before we get into the styles, if you’re still deciding what to do with your length overall, it’s worth browsing our full hairstyles for long hair guide first. These updos work on almost any long cut, whether your ends are blunt or you’ve gone for something with more movement, like a long shag.
Why I Stopped Skipping Updos
For a long time, I treated “down hair” as the default and updos as the backup plan for bad hair days. That’s backwards, honestly. Updos protect your ends from rubbing against jackets and bag straps all day. They keep hair off your neck when it’s humid out. And done right, they look more put-together than most down styles, not less.
Long hair actually makes this easier, not harder, which surprised me at first. More length means more to twist, more to tuck, more room to fake volume where you don’t have it. You just need a few go-to moves in your muscle memory, and the rest takes care of itself.
A Few Things to Sort Out Before You Start
Nobody tells you this part, so I will: most updo fails come down to prep, not technique.
Second-day hair holds better than freshly washed hair. If you wash and go straight into an updo, expect it to slide apart within the hour. A little dry shampoo or texture spray at the roots gives your pins something to actually grab onto.
Detangle first, always. I learned this the hard way, halfway through a twist, hitting a knot, and having to start completely over. Brush it out before you touch a single pin.
Keep your tools close. You really only need bobby pins, a hair tie or two, and a comb. That’s it. I keep mine in a little dish on my dresser so I’m not digging through drawers at 7am.
Expect a few pieces to escape. If you’ve got curtain bangs or shorter layers around your face, some strands are going to fall loose no matter what you do. Stop fighting it. Those loose pieces soften the whole look, and honestly, most people can’t tell the difference between “intentional” and “escaped.”
The 5-Minute Bun (My Actual Go-To)
This is what I do most mornings. It is a forgiving hairstyle even when done slightly messy.
Put your hair up into a ponytail, high or low, depending on the way you feel. Then twist the ponytail in the same manner as if you were wringing a towel. Twist it until it starts forming a loop. Wind the twisted portion around the base and pin it there. The hairstyle is ready.
I genuinely don’t use hairspray for this one most of the days. I may spray some in case of windy conditions or when feeling particular about the hairstyle. A light mist keeps flyaways in check, but it holds fine without it.
One trick I picked up by accident: this bun looks noticeably better on hair that’s already got some texture in it. If you curl your hair using a heatless method the night before, the bun practically builds its own volume the next morning.
The Low Twisted Chignon

This one looks fancier than it is, which I love. People assume it took effort. It didn’t.
Gather your hair low, at the nape of your neck. Split it into two sections and twist each one on its own. Then twist those two twisted sections together, the way you’d braid a rope out of ropes. Wrap the whole thing into a loose knot and pin it in place.
This style shines, literally, on sleek hair. If you’ve done a silk press recently, this chignon is the update that actually shows it off, since the smooth surface catches the light along every twist.
The Half-Up Twisted Crown
Some days I’m not ready to commit to a full updo, and that’s fair. This half-up version gives you most of the polish while keeping your length visible.
Take a small section near each temple, twist them back toward the crown, and pin them where they meet in the middle. If you want more dimension, add a second, slightly lower twist on each side. It looks more complicated than it is once you’ve done it twice.
This one work particularly well if your ends have a lot of layering, since the twists catch and show off the different lengths as they move. If you’re curious what layering can do for your length, our layered haircut ideas post has more inspiration.
The Braided Low Bun
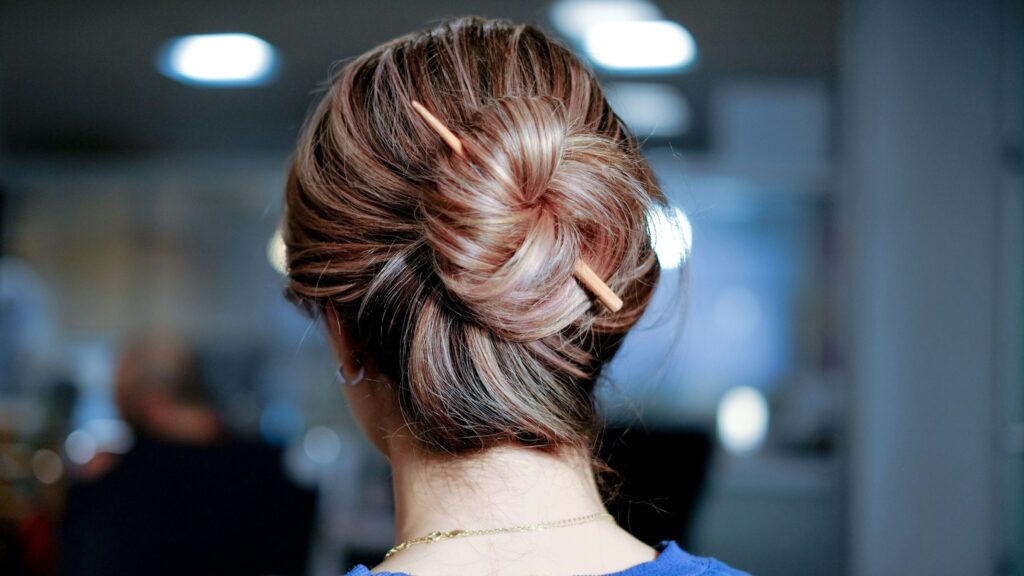
If you already know how to do a basic three-strand braid, you basically already know this style.
Gather hair into a low ponytail, braid it all the way to the end, then coil the braid into a bun shape and pin it. The braid itself does most of the work, adding texture you’d otherwise have to fake with a curling iron.
This is the one I reach for before anything active. It held through an entire beach day once without a single pin falling out, which is more than I can say for most of my “waterproof” mascara.
The Elegant Twisted Updo (For When You Actually Want to Try)
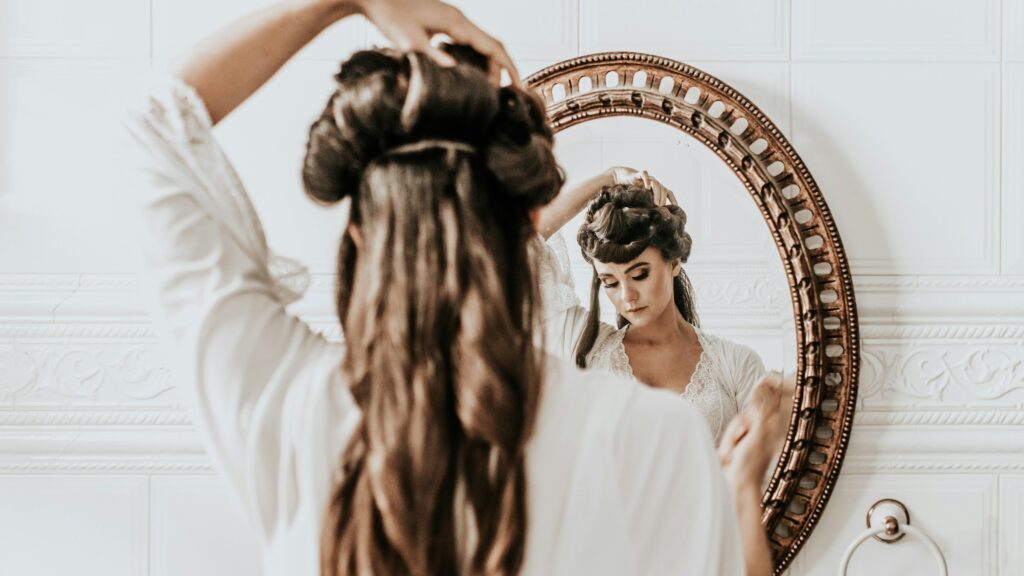
Save this one for when you’ve got a few extra minutes and somewhere to be.
Split your hair into three sections: two sides and the back. Twist each side section back and pin it toward the center. Then twist the back section upward and tuck it underneath the pinned sides, so it all gathers into one voluminous shape. Hide your pins underneath the twists as you go.
A light-hold hairspray at the end keeps it in place through a long evening. I’ve worn these one to two weddings and a work event, and both times someone asked where I “got my hair done.” I did not have the heart to tell them it was a bathroom mirror and fifteen minutes.
When Something Goes Wrong (Because It Will)
Hair too slippery to hold anything? Add texture spray before you start. Fresh-washed hair is genuinely the enemy of every updo on this list.
Bun sagging by lunchtime? Cross your bobby pins in an X instead of lining them up parallel. It sounds small, but it makes a real difference in hold.
Flyaways everywhere? An old toothbrush with a little hairspray or light oil smooths them down without weighing the rest of your hair flat.
Everything looks flat? Backcomb gently at the crown before you gather your hair up. A little lift at the root goes a long way toward making any of these styles look fuller.
Not All Hair Behaves the Same Way
Thick or coarse hair tends to hold braids and twists longer than it holds a plain bun, in my experience. If your hair is finer or slippery, lean into styles built around twists, since they grip better than smooth wrapped sections.
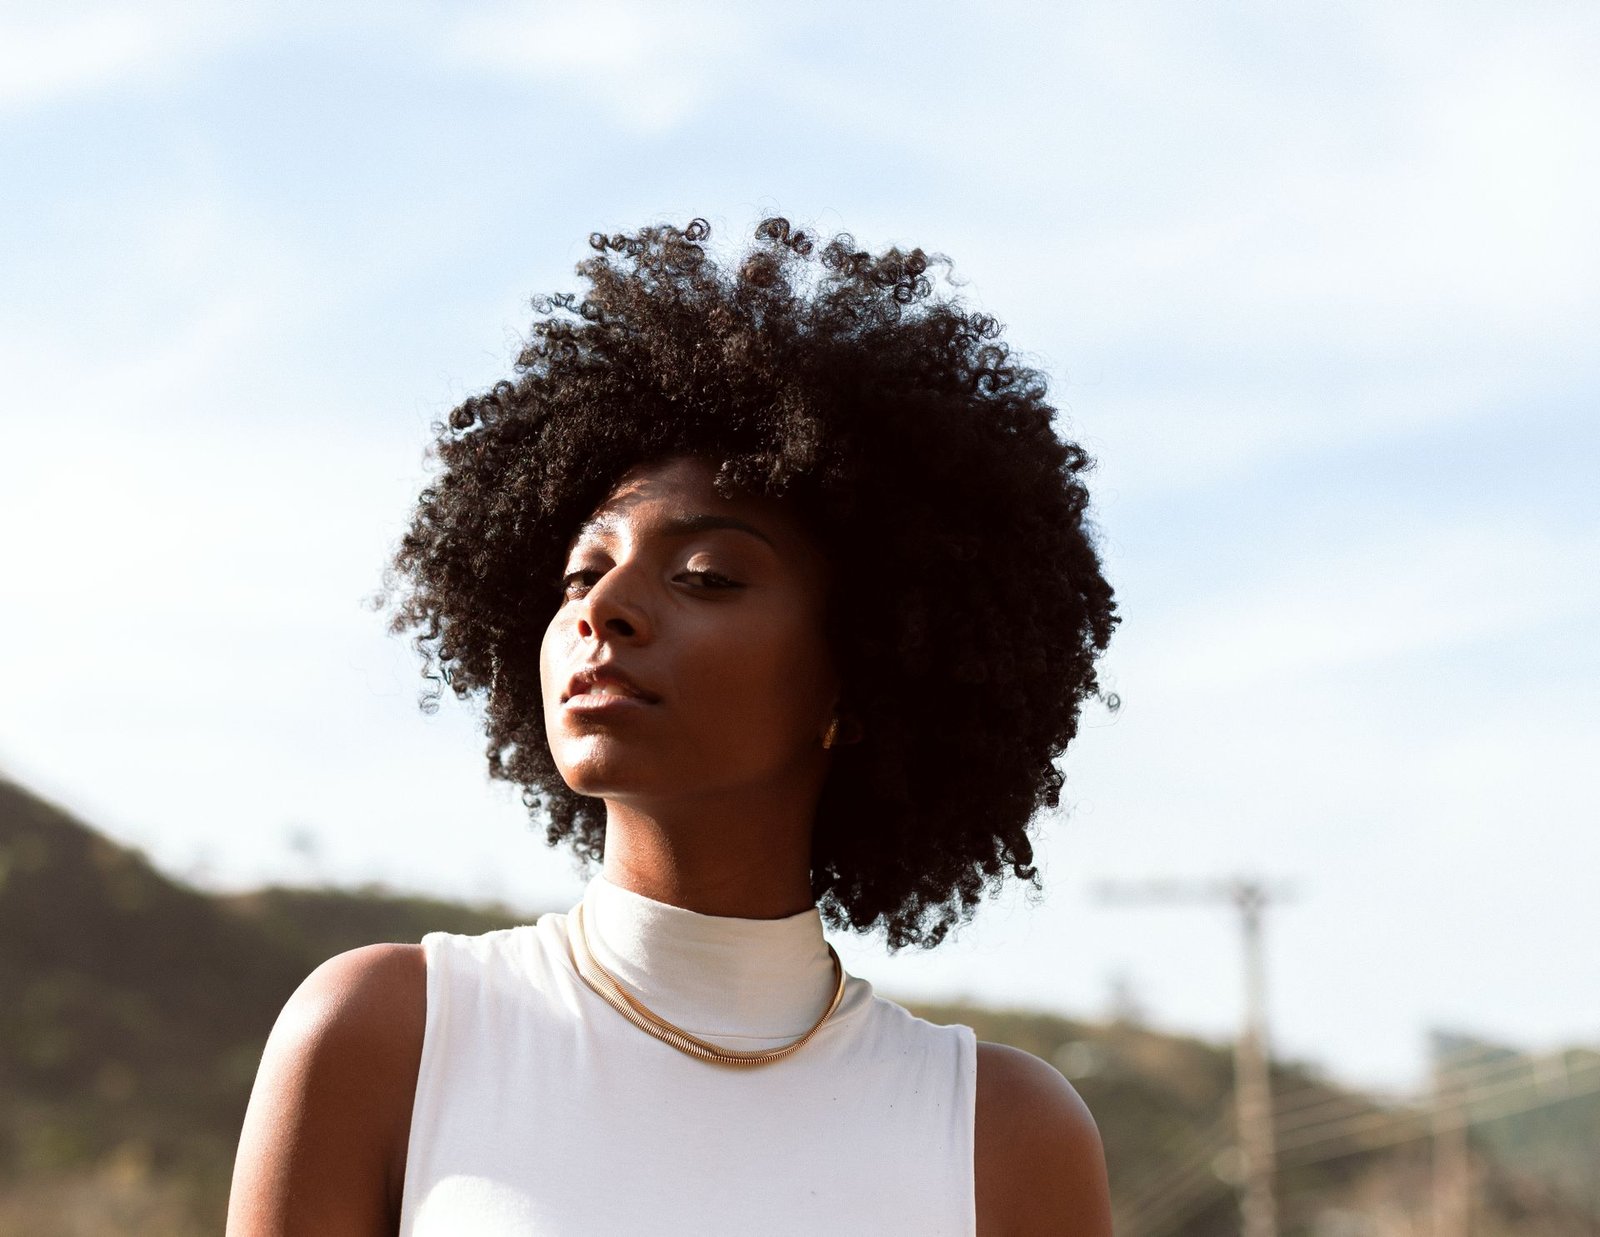
Curl pattern changes things too. If you’re working with coily texture, you might actually find updos easier than sleek styles, since the curls hold their own shape without much help from you. The same goes for a defined 3B curl pattern, where the natural texture is basically doing half the styling already.
What’s Actually Worth Keeping on Hand
You don’t need a drawer full of tools. A few basics cover almost everything on this list.
Bobby pins that match your hair color, so they disappear instead of standing out, especially on something sleek like the chignon. A fine-tooth comb for clean sections, which matters more than you’d think for the twisted crown. A light-hold hairspray, since a heavy one just leaves hair stiff by the end of the day. Two hair ties in different thicknesses, one for finer buns and one for thicker ponytails. And if frizz is an issue for you, a small round brush helps smooth things out before you pin anything down.
None of it is expensive. Most of it is probably already sitting in a drawer somewhere in your house.
Making This Part of Your Actual Routine
No one is born knowing how to make a chignon. It takes a little bit of fumbling until your fingers have memorized how to do the twists and turns on their own without your mind instructing every move. Once you figure out how to do one style, you can do all of them because the steps in creating all those styles are basically the same: twist, tuck, pin, rinse, repeat.
Keep a small pouch of pins somewhere you’ll actually see it, your bag, your bathroom counter, wherever. Having the tools within reach removes the last excuse for skipping an updo on a day you’re running late.
Final Thoughts
Easy updos for long hair were never meant to be complicated. They were meant to save you time, not eat into it. Once you’ve got a handful of these in rotation, you’ll go from a five-minute bun on a Tuesday to a proper twisted updo for a Saturday night without ever thinking twice about it.
Start with whichever style matches what you already do most mornings, and build from there. If you want to see how these techniques play with other lengths and textures, our guide to long shag haircuts is a good place to look next. And if color’s on your mind too, our comparison of chocolate brown vs. rooted blonde breaks down how tone changes the way these updos read.