It’s been only a few days into your gel manicure week, when all of a sudden you find yourself admiring a new nail polish color that you simply adore. But now the question arises whether you could just apply it directly on top of your already existing gel manicure?
Well, you wouldn’t be alone if you asked this question. And the answer isn’t a simple yes or no.
This is what you should know before applying nail polish on gel nails.
Can You Actually Put Nail Polish on Gel Nails?
Yes, it is possible. Nail polish can be applied on top of gel nails without necessarily causing problems.
However, it isn’t always that simple.
What type of nail polish you use, how you apply the polish, and even how you take it off afterward have a great effect on whether or not your nail will end up looking good. Make mistakes, and you may end up lifting, peeling, or otherwise damaging your nail.
Do everything correctly, and you’ll get to change your color as often as you like.
Why Would You Want to Do This?
There are several very valid reasons why people like to put regular nail polish onto their gel nails:
Change of color. Your current color is getting boring, but you do not wish to remove the whole gel manicure. Regular polish will be used to make the change easily.
Fixing chipped gel. Chipped polish may appear at the tip of the gel nail, but it does not require complete removal of the manicure. Applying regular nail polish on top of the damaged area will fix it instantly.
Creating nail art. As opposed to regular manicures, gel creates an ideal basis for nail painting. Gel is often painted to create nail art.
Budgeting reasons. Gel nails cost more than regular ones because they need removal and reapplication. Adding regular polish onto the already existing manicure will save you money.
What You Need to Know Before You Start
The Gel Must Be Fully Cured
No exceptions can be made here. Putting regular nail polish over an uncured or tacky gel is always going to result in failure since the polish will just bubble off the nail.
It goes without saying that if your nail has been professionally done, then you should have no trouble as the gel is likely fully cured by then. However, if you have applied it yourself at home, be certain that you have cured it thoroughly in a UV/LED lamp.
How Regular Nail Polish Reacts to Gel Nails
The nail polish does not cure inside the gel coating but just sits above it. Thus, the nail polish might wear out quicker and may even feel different compared to its application on a normal nail. Be prepared to replace the top coat more often than usual.
Removal Is the Trickiest Part
This step is tricky because removing nail polish in a normal way is absolutely off-limits when it comes to gel nails. Acetone will destroy both your polish and the gel coating beneath it.
How to Apply Nail Polish on Gel Nails — Step by Step
If you follow all of the steps precisely, you will not encounter any difficulties and achieve impeccable results.
Step 1: Preparation of the nail surface Before applying any polish to the surface, wipe it using non-acetone nail polish remover or rubbing alcohol. It removes all impurities and allows achieving the best results.
Step 2: Application of base coat (optional but recommended) A thin layer of clear base coating improves adhesion between gel nails and the future color. Moreover, it facilitates future removal.
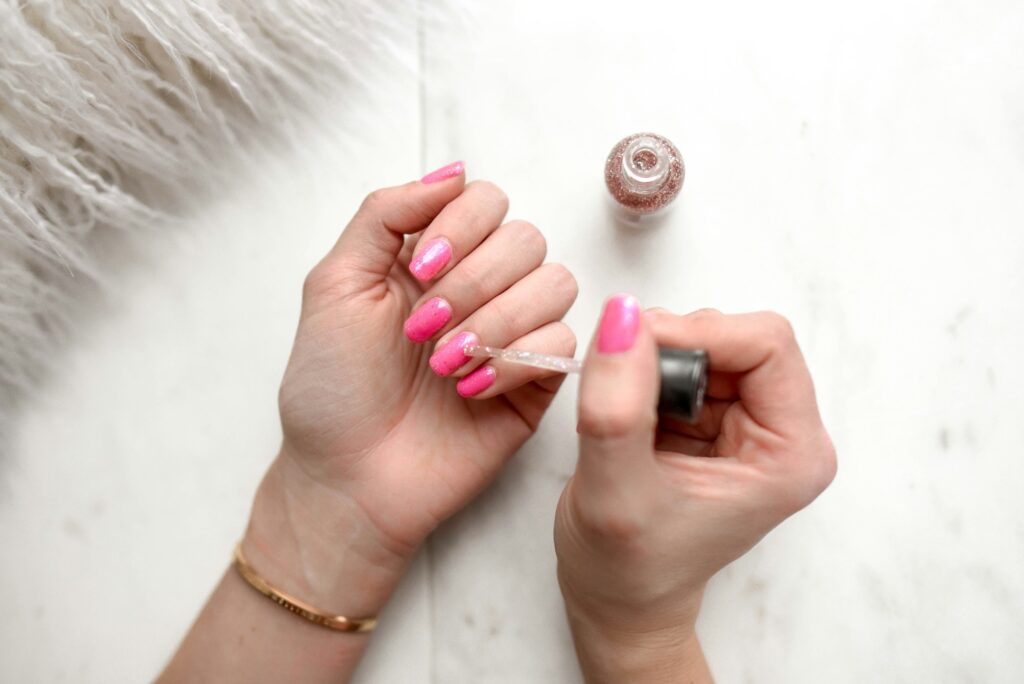
Step 3: Applying colored nail polish Apply polish in thin layers to avoid unevenness and smudging. It is much more effective to apply two thin layers than a single thick one.
Step 4: Wait until it dries. Gel nails have an absolutely flat non-porous surface. Therefore, polish should be applied in two thin layers, giving it several minutes after each application.
Step 5: Apply top coat using a non-acetone top coat To complete your manicure, apply a top coat to seal in the color and give your nails extra shine. Be sure that it is marked non-acetone or gel-friendly.
How to Remove Nail Polish Without Damaging Your Gel
This is just as important as the application process.
Don’t use acetone nail polish removers. The solvent in acetone removes gel. This may result in your gel lifting, cracking, or peeling, which consequently leads to removal of your nail polish completely.
It is recommended that you remove your regular nail polish with a non-acetone polish remover. This is slightly difficult but effective in removing polish without affecting the gel.
Here’s how to do it cleanly:
- Soak a cotton pad in non-acetone remover
- Hold it gently against the nail for about 10 seconds
- Wipe in one smooth downward stroke
- Repeat until the color is fully lifted
- Finish with a gentle nail oil to rehydrate
The gel beneath should look exactly as it did before. If your gel starts to look dull or starts lifting after removal, your gel may have been old, thin, or improperly cured to begin with.
Does It Affect Your Gel Manicure’s Lifespan?
Only slightly – as long as you are careful enough.
This is the greatest danger when removing the polish. You just need to be very careful while using the remover that isn’t acetone-based to prevent any damage.
On the other hand, the polish will not last very long – because gel polish has an extremely smooth surface, regular polish does not stick to it for a long time and gets chipped much quicker than it does on your natural nail. This takes about three to five days without applying the top coat and can stretch to seven days with it.
To make your nails look more polished longer, apply the top coat two to three times per week. It makes a noticeable difference.
Tips for the Best Results
Choose the right polish formula. Water-based nail polishes work more easily on gel nails and are easier to remove. They make a great option for those who wish to change color often.
Don’t use glitter polish. Glitter polishes can be hard to remove because their removal requires a lot of acetone, and acetone cannot be used in this case. Use cream or clear formulas instead.
Top coat matters. Regular nail polish applied to gel nails tends to crack very quickly on its own. It’s the top coat that will hold it together.
Keep your cuticles healthy. Healthy cuticles mean a cleaner nail edge and better-looking results overall. If you’ve been cutting your cuticles, consider switching to a cuticle remover — it’s gentler and gives a neater finish. Read why you should stop cutting your cuticles for more on this.
Try trending finishes. If you’re experimenting with looks, sheer and glassy finishes are huge right now. Soap nails vs. glazed donut nails breaks down both trends so you can pick the vibe that suits you best.
When Should You Just Redo the Gel Instead?
However, there may be cases where it’s best not to layer polish. These situations would include:
- The gel polish is starting to lift at the edges
- You’ve had the same gel polish for more than 3 weeks
- The gel surface has become rough and cloudy
- You’d like to change up the shape of your nails
It won’t do you any good to layer polish on top of gel that’s already gone bad; it’ll just look worse. It’s best to start from scratch. If you’re looking for fresh inspiration, check out these trending gel manicure nail designs to plan your next look.
Final Thoughts
Applying nail polish to gel nails can definitely be achieved, and when done correctly, it will make all the difference to extending the lifetime of your manicure and keeping that fresh look.
What are the essential tips? Ensure that the gel has completely set, use acetone-free products only, apply thin layers, and never forget your top coat.
Be it for repairing chips, changing colors mid-week, or applying nail art on top of it, you now have everything covered to help you apply the nail polish correctly.
Take control of your nails; just follow the right techniques and give yourself a well-deserved reward.